What is CDX Plywood?
Table of Contents What Is CDX Plywood? Your Go-To Guide for Construction & Outdoor Projects If you’ve ever walked through the lumber aisle at your local home improvement store—or scrolled
Table of Contents What Is CDX Plywood? Your Go-To Guide for Construction & Outdoor Projects If you’ve ever walked through the lumber aisle at your local home improvement store—or scrolled

Table of Contents Acacia plywood, its performance, and whether it is suitable for furniture or interior projects. Acacia plywood is widely used in manufacturing because it offers a balance of
What Is Acacia Plywood? A Practical Guide to Acacica Plywoe Read More »
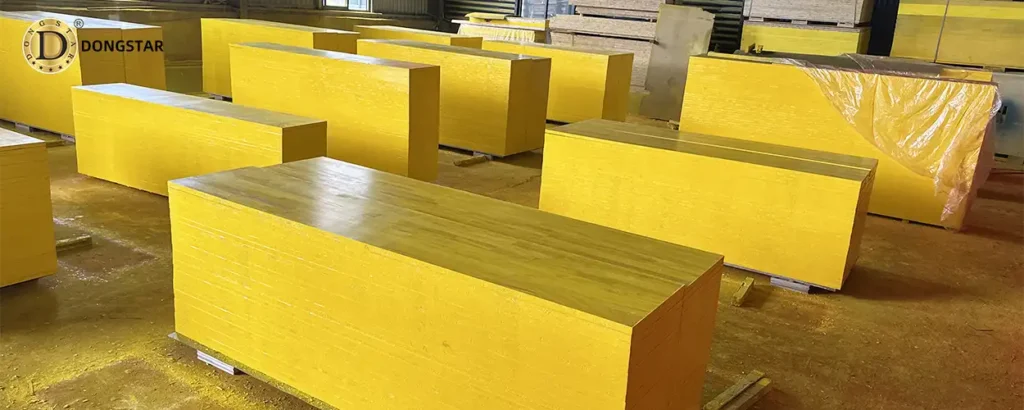
Table of Contents For years, European construction companies have been searching for a panel material that combines strength, consistency, and long-term dimensional stability. This is exactly why Three-layer Plywood has
Why Three-layer Plywood Is Becoming a Preferred Material in Europe? Read More »
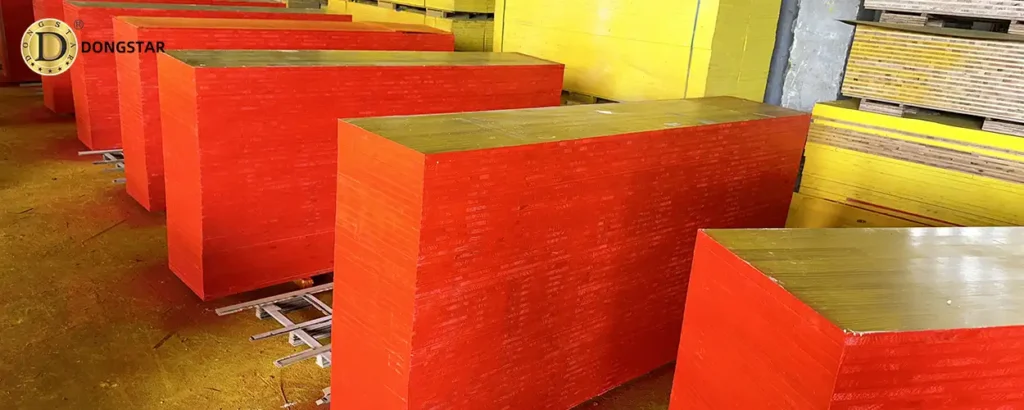
Table of Contents Three-layer Plywood has become one of the most dependable and versatile engineered wood materials in today’s construction market. Its layered strength, consistent performance, and adaptability make it
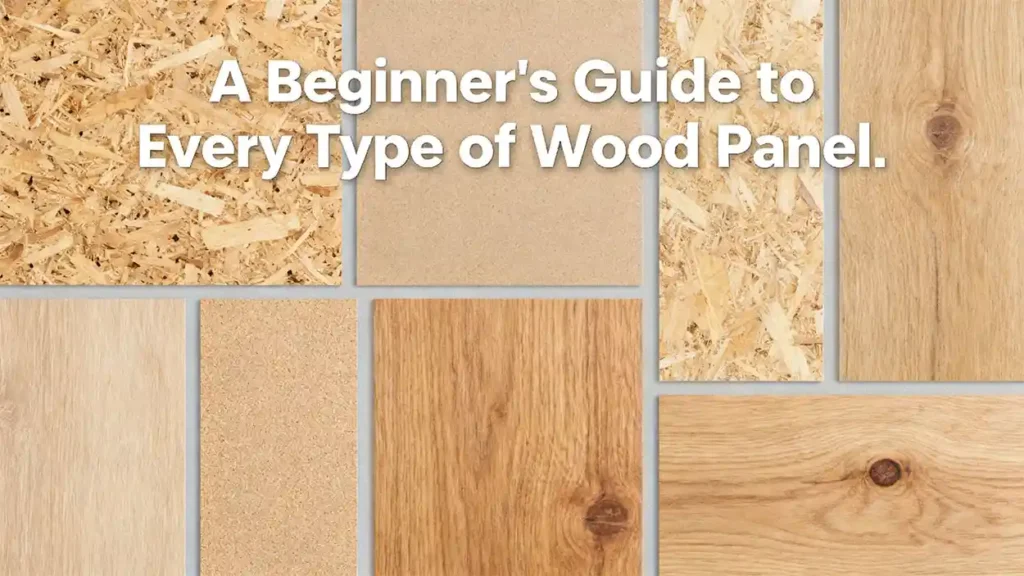
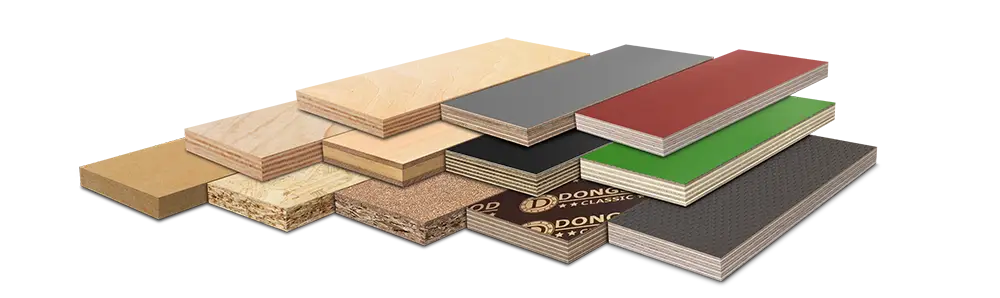
Table of Contents Walking into a lumber yard can be overwhelming with all the wood panel options: plywood, MDF, OSB, and more. It’s easy to choose the wrong one. This

Table of Contents OSB (Oriented Strand Board) is a popular building material, but it has a notorious weakness: moisture. Understanding this vulnerability is crucial for any construction or DIY project.
The Problem with OSB and Moisture: What You Must Know Read More »